
Tutorial Scenario: EIQ Index Real-time Update
Step 1: Activate Changed Data Capture in SQL Server
Step 2: Configuring EIQ RTIS to Update the EIQ Index
Step 3: Execute Sample Queries Before and After Changes
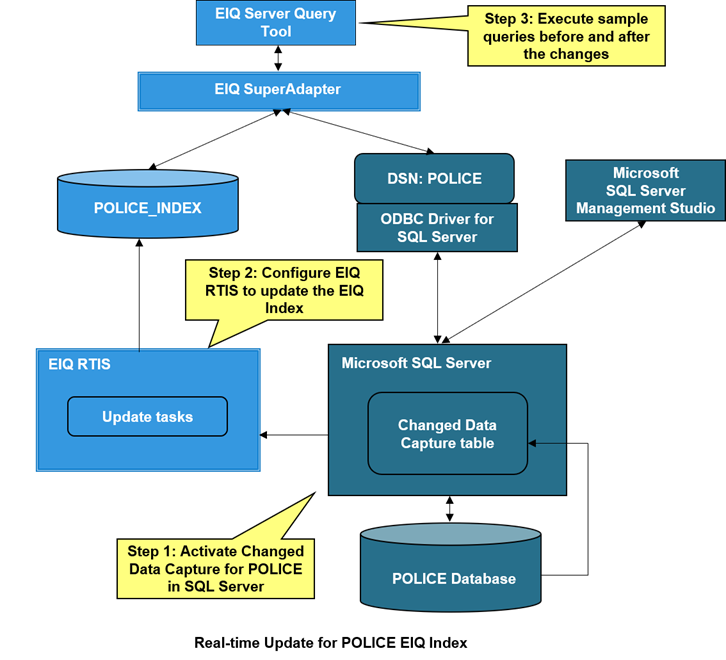
This Scenario demonstrates setting up near-real-time updates of the EIQ Index for the POLICE database (POLICE_INDEX) as changes happen in the database in SQL Server. The update mechanism keeps EIQ Indexes in sync with corresponding data sources so EIQ Product servers return accurate and up-to-date results.
This scenario guides users through the following major steps:
Step 1: Activate Changed Data Capture (CDC) for POLICE in SQL Server.
Step 2: Configure EIQ RTIS to update the EIQ Index.
Step 3: Execute sample queries before and after the changes.
This tutorial uses changed data capture (CDC) to monitor the data sources. For the various options available for monitoring and updating EIQ Indexes, refer to the EIQ Server Update Process.
Change Data Capture (CDC) records INSERT, UPDATE, DELETE and other actions when they are applied to a SQL Server table. The recorded actions, or transactions, like changes made to rows or data schema changes, are then stored in a relational table that is easily queried using SQL. You have to activate CDC in the SQL Server Management Studio on the POLICE database. EIQ RTIS will then poll for the transactions generated when a change is made, and then use that information to update the EIQ Index.
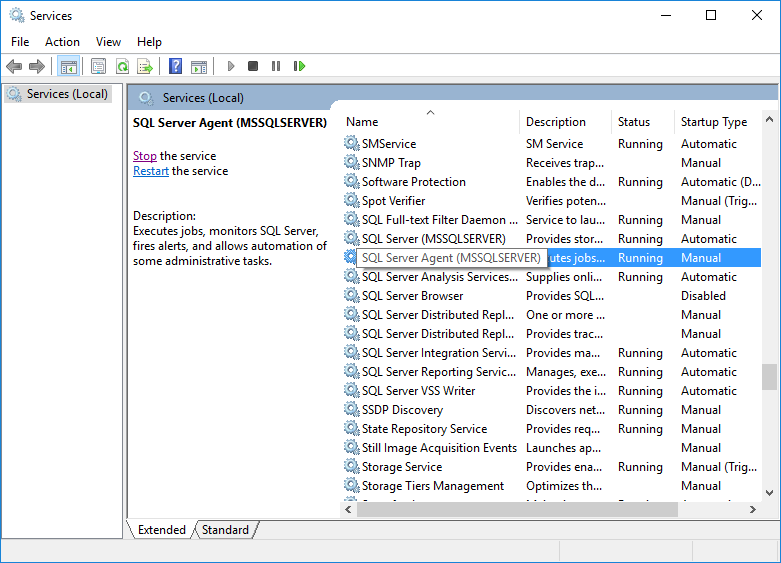
The first step in activating CDC is to verify that SQL Server Agent is running.
· Open ‘Services’ on the appropriate machine.
· Scroll down to find ‘SQL Server Agent (MSSQLSERVER)’.
· Verify that the service is running using the proper login.
· Right-click the service and select ‘Start’ if it is not already running.
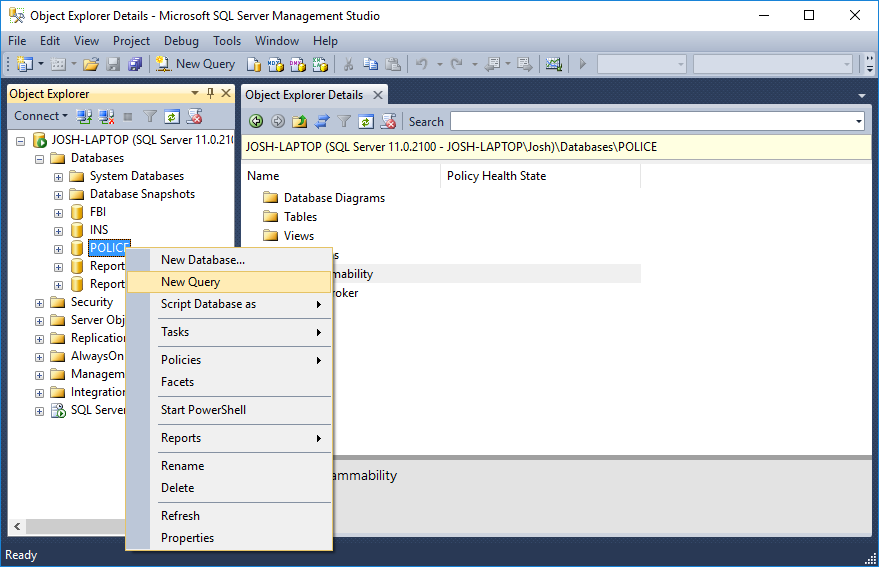
Once the service is running, open SQL Server Management Studio and select the ‘POLICE’ database under the ‘Databases’ node.
· Right-click the ‘POLICE’ database node and select ‘New Query…’
Enter the following query:
Use POLICE
GO
exec sys.sp_cdc_enable_db
GO
exec sp_cdc_enable_table @source_schema =N'dbo',@source_name = 'LOPERSON', @role_name = null, @filegroup_name = null, @supports_net_changes = 1;
GO
Then activate CDC on the remaining two tables:
exec sp_cdc_enable_table @source_schema =N'dbo',@source_name = 'INCIDENT', @role_name = null, @filegroup_name = null, @supports_net_changes = 1;
GO
exec sp_cdc_enable_table @source_schema =N'dbo',@source_name = 'PERSINCIDENT', @role_name = null, @filegroup_name = null, @supports_net_changes = 0;
GO

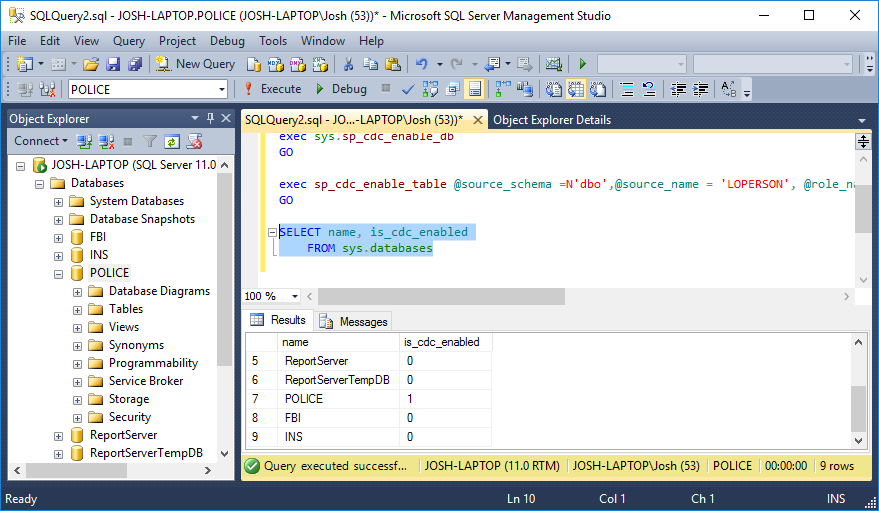
When this command is run, it creates a default CDC table for the specific table name. You can confirm that the CDC table has been activated by executing the following query.
SELECT name, is_cdc_enabled
FROM sys.databases
A ‘1’ under the ‘is_cdc_enabled’ column means that CDC is enabled for that database.
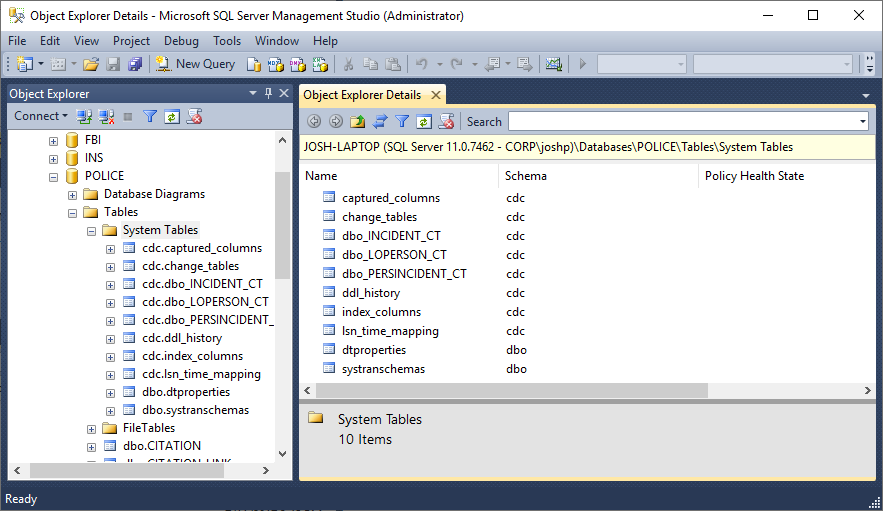
The new CDC tables are now visible in the System Tables folder after expanding the POLICE database node.
Now that changed data capture is activated on the POLICE database, EIQ RTIS needs to be configured to pick up the changes and update the EIQ Index. This is performed through the EIQ Update Configuration Tool.
· Verify that EIQ RTIS is running under ‘Services’.
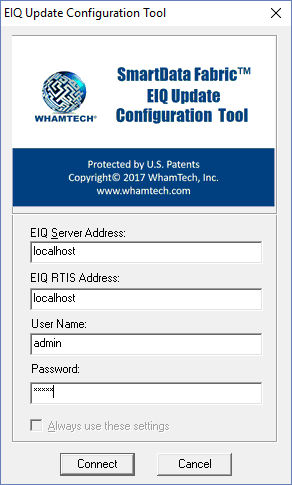
· Open the EIQ Update Configuration Tool.
· Log in to the desired EIQ RTIS instance with the appropriate credentials.
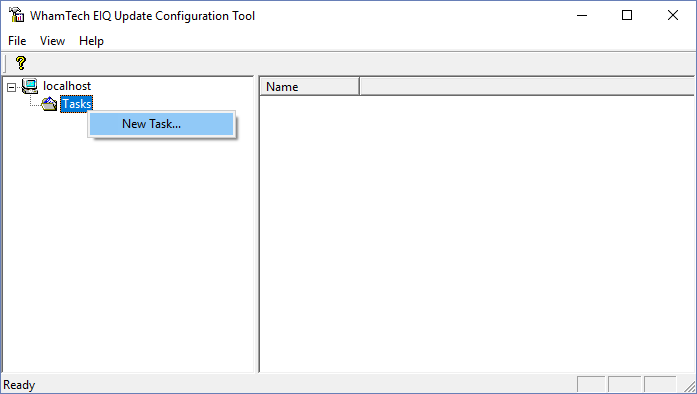
The first step is to configure a new task.
· Right-click on ‘Tasks’ and select ‘New Task…’
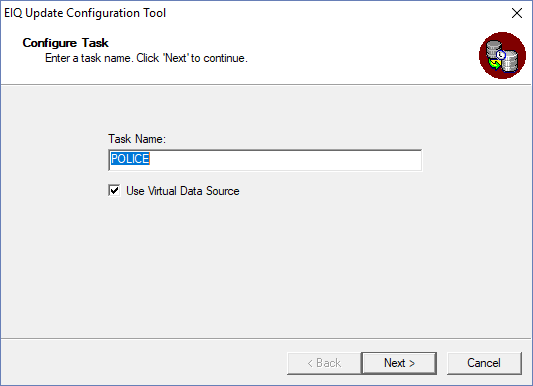
· Enter a Task Name.
· Make sure the ‘Use Virtual Data Source’ checkbox is selected.
· Select the POLICE_VDS from the list of available VDSs.
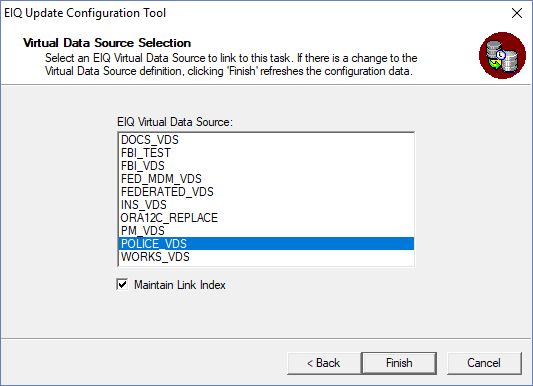
· Click ‘Finish’ to complete the task creation.
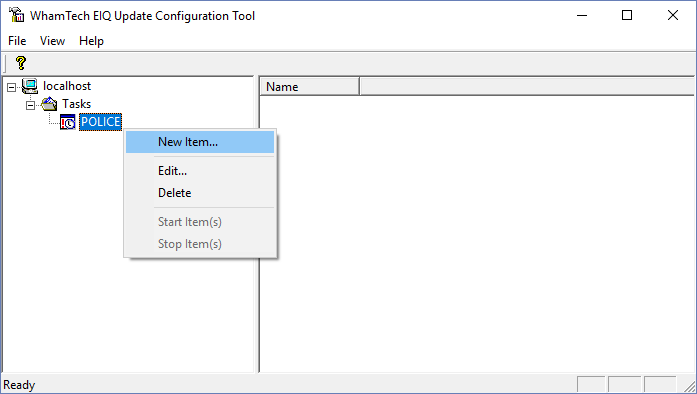
Now that the task has been created for the POLICE_VDS, a task item must be configured to tell EIQ RTIS where and how to monitor the data source.
· Right-click the newly created task and select ‘New Item…’
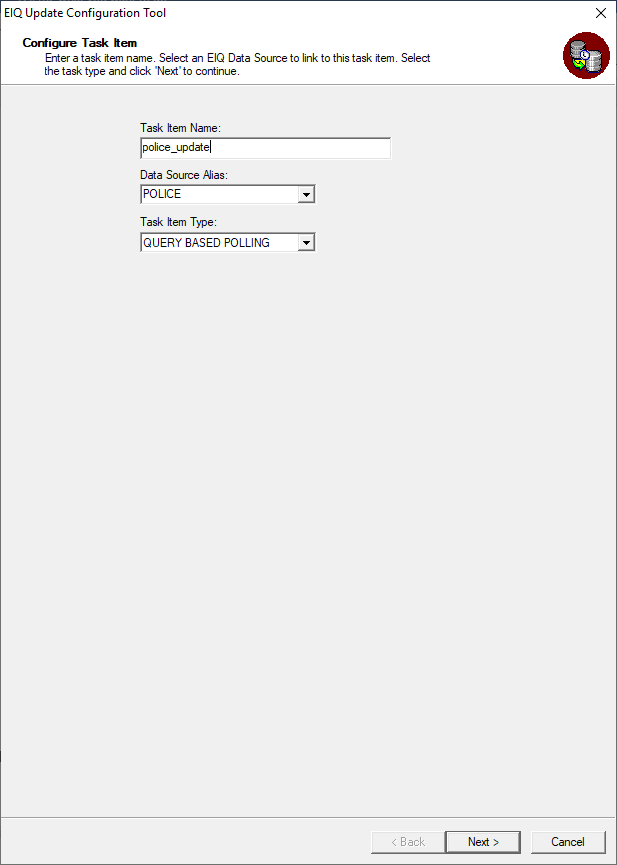
· Enter a name for the Task Item.
· Select ‘POLICE’ as the data source alias.
· Select ‘Query Based Polling’ as the Task Item Type.
· Click ‘Next’.
· In the ‘Change Query Based Configuration Setup’ window, enter the information for the data source being monitored.
· Specify the name of the data source and the username and password.
· Select SQL SERVER CDC as the platform.
· Specify how often EIQ RTIS should poll for messages.
· Then, select the initial timestamp. This will tell EIQ RTIS what timestamp to start at when it begins polling for updates.
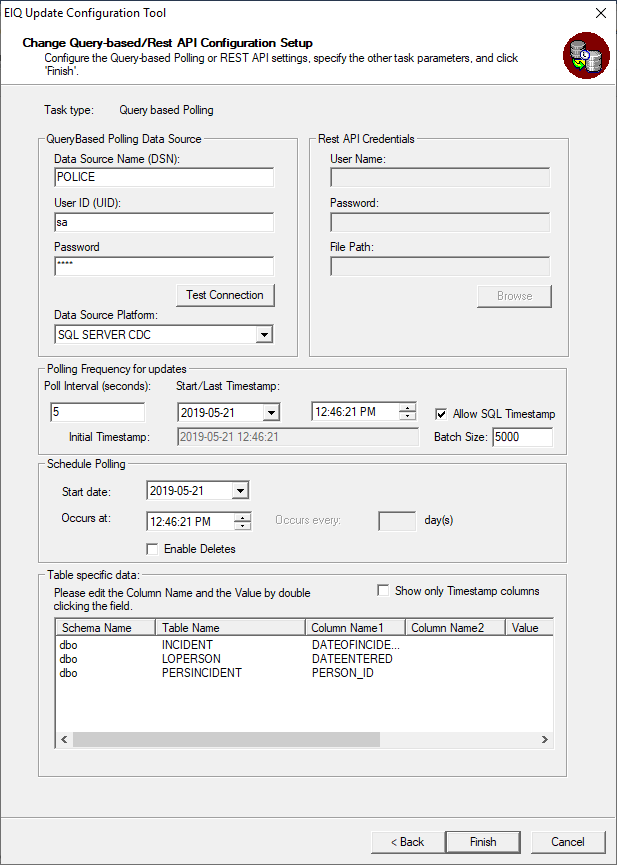
In the ‘Table specific data’ box users must select a column when looking for any changes to the database. This will tell EIQ RTIS that it should expect to find changes in each of these columns.
· For ‘LOPERSON’ select ‘DATEENTERED’
· For ‘INCIDENT’ select ‘DATEOFINCIDENCE’
· FOR ‘PERSINCIDENT’ select ‘PERSON_ID’
· Click ‘Finish’.
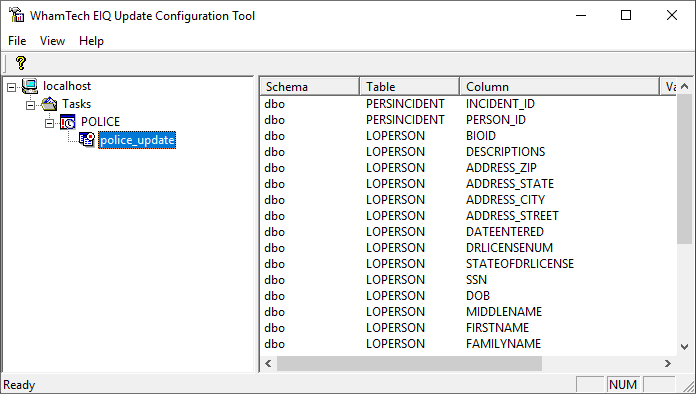
You can see the new task item added under the POLICE task.
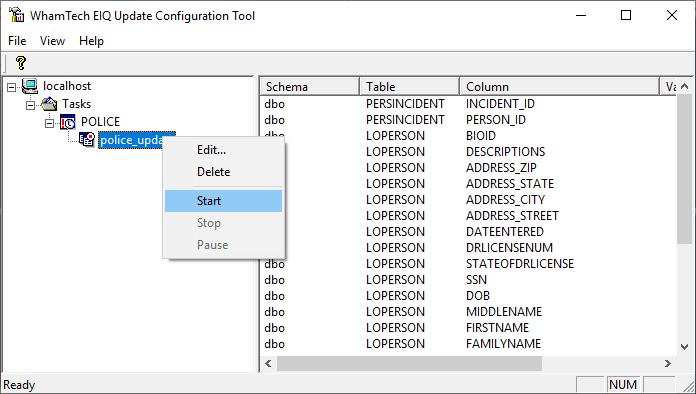
· Right-click the task item and select ‘Start’ to make EIQ RTIS begin polling for CDC updates from SQL Server.
Now that EIQ RTIS is configured to poll for the changes in data source, it will monitor for changes and update the indexes in real-time when a change is found. In order to test this, use the following sample queries in both the EIQ Server Query Tool and SQL Server Management Studio to verify that EIQ RTIS updated the index. These sample queries will show the database before and after modifying the data in the POLICE database.
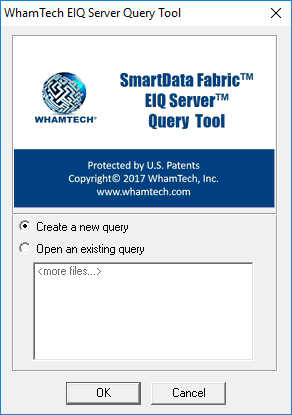
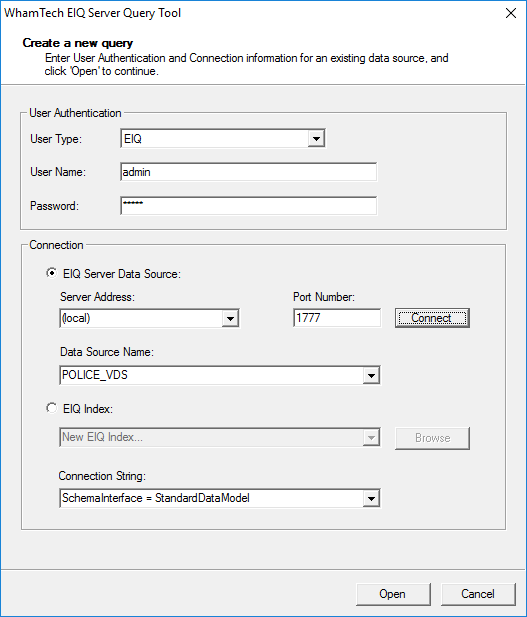
· Create a new query and connect to the POLICE_VDS.
· Make sure in the ‘Connection String’ box that ‘SchemaInterface = StandardDataModel’
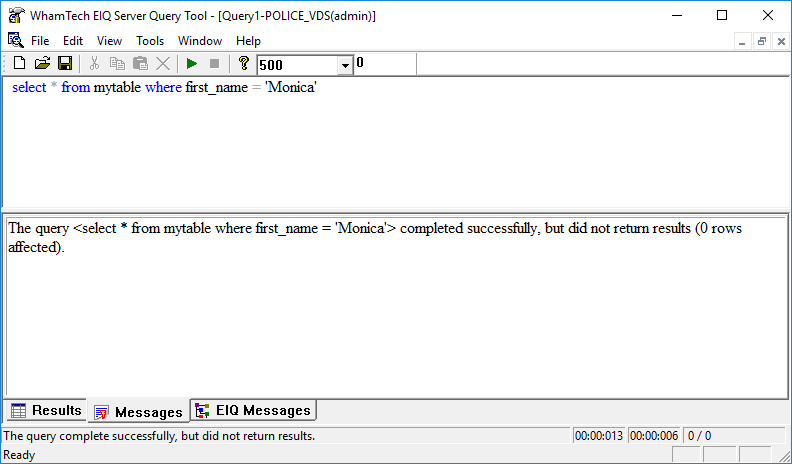
Now, execute the following query:
SELECT * FROM Mytable WHERE first_name = 'Monica'
It doesn't return any rows because there are no records where the first name is 'Monica' in the PERSON table of the POLICE data source.
Next, you will Insert, Update, and Delete sample rows from the data source using the Query Analyzer and see the changes reflect when querying with the EIQ Server Query Tool.
· Execute the following queries in the Query Analyzer of Microsoft SQL Server in the POLICE database.
o INSERT into LoPerson VALUES (100000, 'Camille', 'Monica', 'Keane', '1980-01-01','123456789','TX','7654321', getdate(),'312 UTA Blvd', 'Arlington', 'TX', '76010','Record inserted', NULL)
o INSERT into INCIDENT VALUES (100000, '3 jay walking', getdate(), '401 S Cooper St.', NULL, 'Arlington', 'TX', '76013', 'Jay walking: Monica was crossing street without a crosswalk at 401 S Cooper St. around 20:48:32. Monica was a UTA student running late to class. The officer gave a warning.')
o INSERT into PERSINCIDENT VALUES(100000,35000)
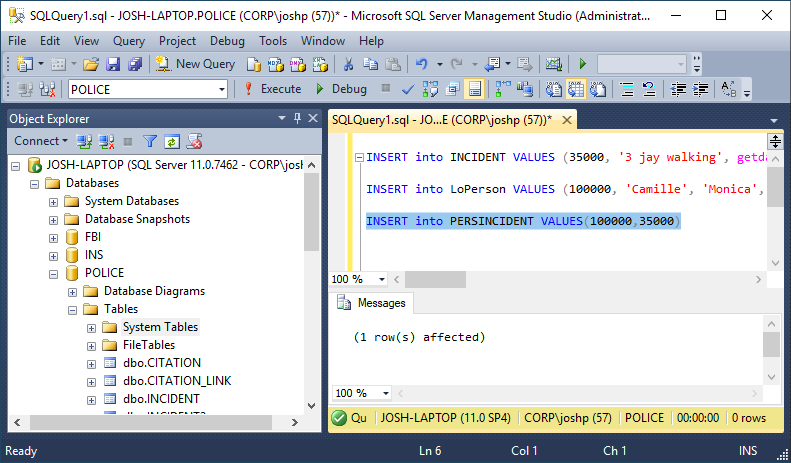
Inserting the above rows in the data source should have updated the index through EIQ RTIS.
Now, execute the query in the EIQ Server Query Tool.
SELECT * FROM MyTable WHERE First_Name = ‘Monica’

‘Monica’ and all of the information related to her has been inserted into the index.
Next, try sending an update message to EIQ RTIS. Change the first name in the record to ‘Maya’ by executing the following query in SQL Server.
UPDATE LoPerson SET Firstname = 'Maya' WHERE Firstname='Monica'
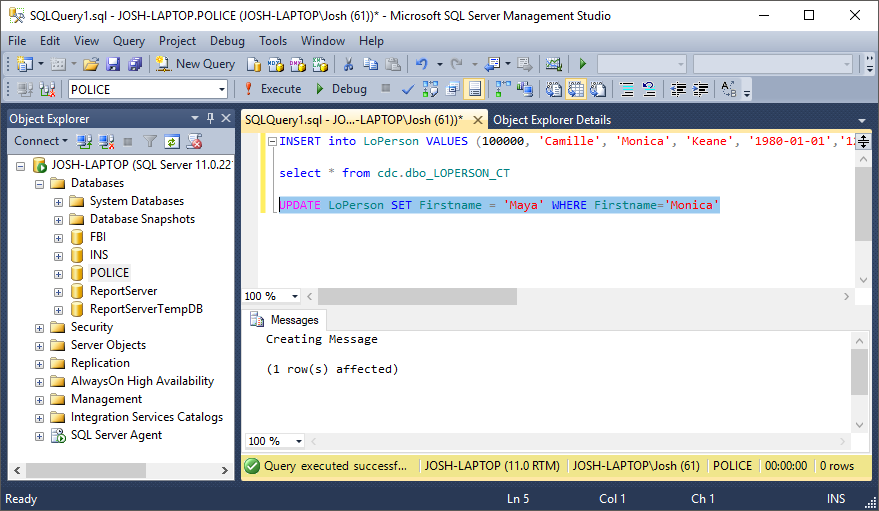
The Query Analyzer shows that one row has been updated. Return to the EIQ Server Query Tool to see the updated data. Execute the following query:
SELECT * FROM MyTable WHERE First_Name = ‘Maya’
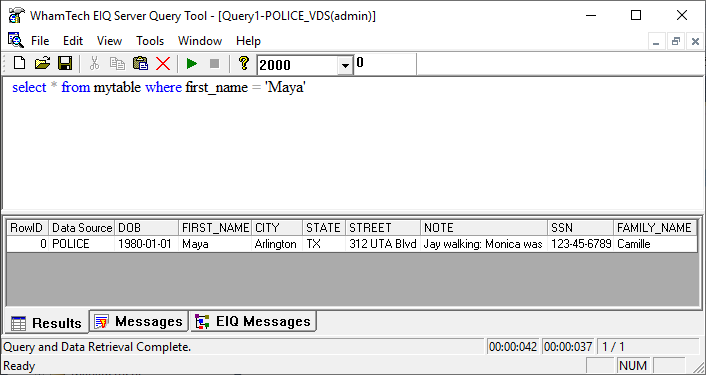
It should return the record with the first name changed from 'Monica' to 'Maya'. All the other details remain the same.
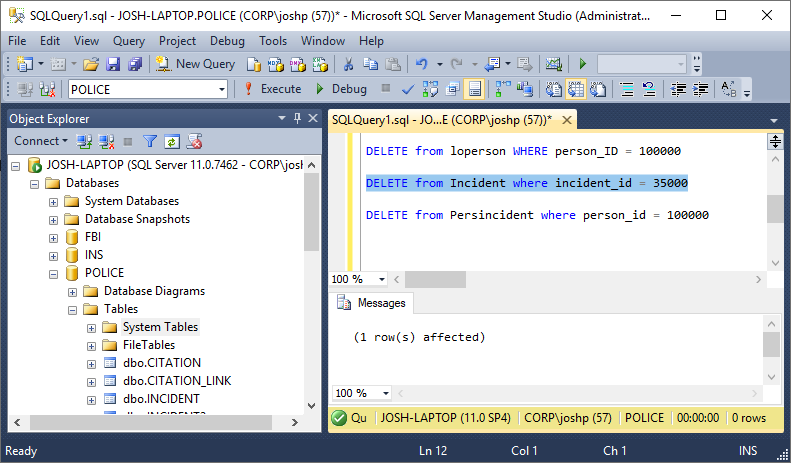
Now try deleting the data from the index. Execute the following query in SQL Server:
DELETE from Persincident where person_id = 100000
DELETE from Incident where incident_id = 35000
DELETE from loperson WHERE person_ID = 100000
Check to see if the data has been deleted from the index by executing the following query in the EIQ Server Query Tool:
SELECT * FROM MyTable WHERE First_Name = ‘Maya’
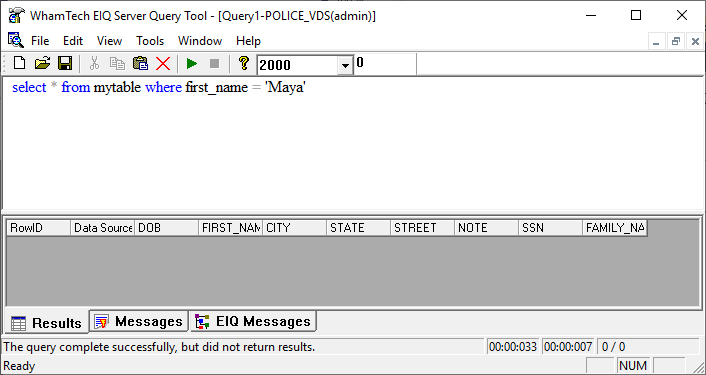
It should say that the query did not return results. This means that the record has been deleted from EIQ Index as well.
Copyright © 2019 , WhamTech, Inc. All rights reserved. This
document is provided for information purposes only and the contents hereof are
subject to change without notice. Names may be
trademarks of their respective owners.